Apple App Store Submission Checklist - [Updated Guide 2023]
14 APR 2023
Are you ready to launch your brand-new app into the world? Before you hit that submit button, it’s important to make sure everything is in order. apple App store submission can be a daunting task, but with our Latest checklist for 2023, you’ll be able to ensure a smooth and successful upload.
In this post, we’ve rounded up all the essential steps you need to take before uploading your app on any app store platform. So let’s dive in and get your app ready for its big debut!
Overview of the App Store Submission Process

The App Store submission process can be daunting, but it doesn’t have to be. By following this checklist, you can be sure that your app will be successfully uploaded to the App Store.
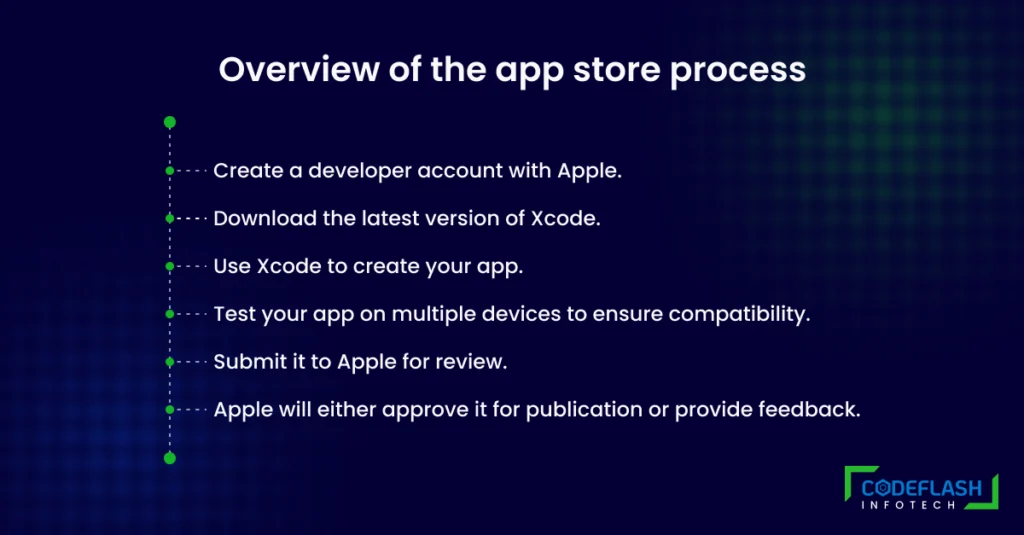
- Create a developer account with Apple. This will give you access to the tools and resources you need to build and submit your app.
- Download the latest version of Xcode from the Mac App Store. This is the development environment you’ll use to create your app.
- Use Xcode to create your app. Make sure that all of the required features are included and that your app functions as intended.
- Test your app on multiple devices to ensure compatibility. Pay particular attention to any devices with different screen sizes or resolutions.
- Once you’re satisfied with your app. submit it to Apple for review using the Submission Checklist in Xcode. Include all required information and documentation so that Apple can properly evaluate your app.
- After Apple has reviewed your app. they will either approve it for publication or provide feedback on how to improve it so that it meets their standards. Make any necessary changes and resubmit your app until it is approved for publication.
Pre-Submission Checklist to App Store
- App Store Guidelines: Review the App Store Review Guidelines thoroughly to ensure that your app complies with all of Apple’s policies.
- Developer Account: You will need a registered developer account to submit your app to the App Store. If you don’t have an account, you can sign up for one on Apple’s developer website.
- Apple ID: Make sure that your Apple ID is up-to-date and that you have enabled two-factor authentication.
- App Information: You will need to provide Apple with the following information about your app:
• App name
• Description
• Category
• Keywords
• Icon
• Screenshots
• Video preview (optional)
• Contact information - App Compatibility: Ensure that your app is compatible with the latest versions of iOS, iPadOS, watchOS, and tvOS.
- App Functionality: Test your app thoroughly to ensure that all features are working properly and that the user experience is optimal.
- App Metadata: Ensure that all of the app’s metadata is accurate, up-to-date, and matches the information provided in the app.
- Privacy Policy: Include a privacy policy in your app that describes the type of data your app collects and how it is used.
- Advertising Identifier: If your app uses advertising, make sure that it is using the advertising identifier (IDFA) and that you have included a purpose string explaining why you need to use it.
- In-App Purchases: If your app includes in-app purchases, ensure that they are functional and comply with Apple’s guidelines.
- App Review Information: Include any special instructions or information for Apple reviewers to help them understand your app and how it works.
- Pricing and Availability: Choose a pricing strategy and set the availability of your app in the App Store.
- App Store Optimization (ASO): Optimize your app for search in the App Store by including relevant keywords in the app name and description.
- Beta Testing: Test your app with a group of beta testers before submitting it to the App Store.
- Localization: If your app is available in multiple languages, ensure that all translations are accurate and that the app is culturally sensitive.
- Legal Requirements: Make sure that your app complies with all legal requirements in your country and any countries where it will be available in the App Store.
- Apple Developer Agreement: Read and agree to the Apple Developer Agreement before submitting your app.
- Submitting Your App: When you are ready to submit your app, use Xcode or Application Loader to upload it to the App Store.
Submission Documentation Requirements for the App Store

When you are ready to submit your app to the App Store, there are a few things you need to have in order:
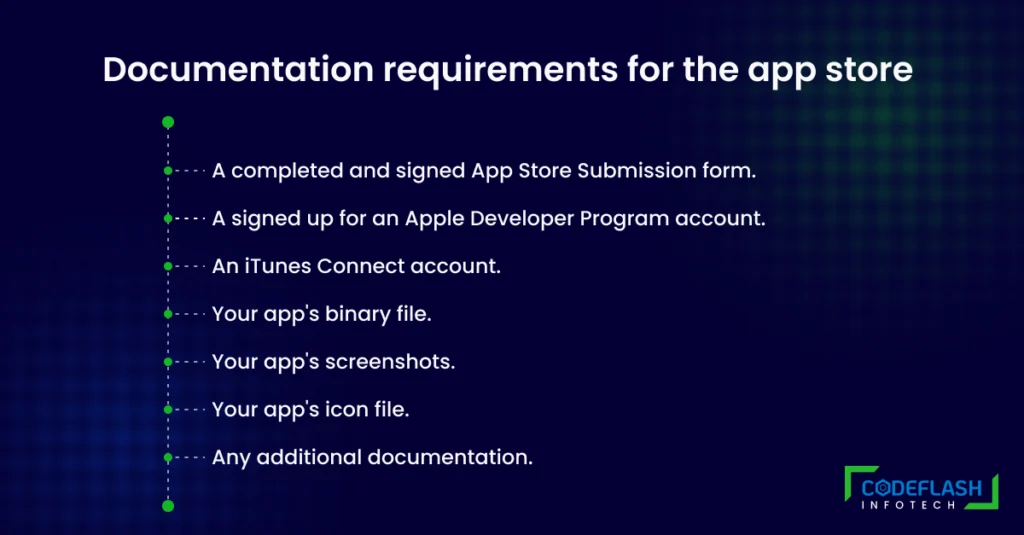
- A completed and signed App Store Submission form.
- A signed up for an Apple Developer Program account. This will cost $99/year and will give you access to the App Store Connect portal where you will submit your app.
- An iTunes Connect account. This is where you will manage your app’s information once it is live on the App Store.
- Your app’s binary file. This is the actual app that you have built and is ready to be submitted.
- Your app’s screenshots. You will need at least one screenshot for each device size/type that your app supports (iPhone 4,5,6,6+, iPad, etc). These should be high-quality images that showcase what your app looks like and how it works. You can create these in Photoshop or another image editing program.
- Your app’s icon file(s). You will need a separate icon file for each device size/type that your app supports. Again, these should be high-quality images that accurately represent your app.
- Any additional documentation that may be required by Apple (such as a privacy policy if your app collects personal data).
By following this comprehensive checklist, you can ensure that your app meets all of the requirements for submission to the App Store and will be approved by Apple.
Common Mistakes to Avoid in app store submission
When submitting your app to the App Store, there are a few common mistakes to avoid if you want to ensure a successful upload. First, make sure all of your app’s metadata was entered correctly and completely. This includes the app name, keywords, category, pricing, and description. If any of this information is incorrect or missing, it could lead to your app being rejected by the App Store review team.
Another common mistake is neglecting to properly test your app before submitting it. Be sure to thoroughly test your app on all devices and OS versions that it supports. This will help ensure that there are no errors or bugs that could cause your app to be rejected during the review process.
Finally, make sure you have all the necessary paperwork in order before submitting your app. This includes signing an iOS Developer Program License Agreement and completing the appropriate tax forms. If you’re missing any of this documentation, your app submission will likely be delayed or rejected outright.
By following these simple tips, you can avoid common mistakes during the App Store submission process and increase your chances of having a successful upload.
Tips for Optimizing App Store Visibility and Success
When you submit your app to the App Store, there are a few things you can do to ensure its visibility and success. Here are some tips:
- Use keywords in your title and description. This will help users find your app when they search the App Store.
- Make sure your app is compatible with the devices it will be used on. Users will not be able to download and use your app if it is not compatible with their devices.
- Choose an attractive icon and screenshots. These are the first things users will see when they come across your app, so make sure they are eye-catching and representative of your app’s functionality.
- Use positive reviews and ratings from users to promote your app. Good reviews will encourage other users to download and try out your app.
Post Submission Checklist
When you’re ready to submit your app to the App Store, there are a few things you need to check off first. Use this post-submission checklist to make sure your app is ready for approval:
- Check that all of your app’s content is complete and up-to-date. This includes things like your app’s name, description, screenshots, and contact information.
- Make sure your app is optimised for the latest iOS devices and software versions. This means ensuring that it uses the latest APIs and features and that it is compatible with the latest iPhone and iPad models.
- Test your app thoroughly before submitting it. This includes both functional testing to check for bugs, and user experience testing to make sure it is easy and enjoyable to use.
- If you are including in-app purchases in your app, test them thoroughly as well. This includes checking that they work as intended and that prices are displayed correctly.
- Verify that all of your app’s metadata is accurate and up-to-date before submitting it for review. This includes things like your app’s category, keywords, privacy policy URL, and bundle ID.
- Once you’ve double-checked everything on this list, you’re ready to submit your app for review!
Conclusion
As an iPhone Developers Submitting your app to the App Store can be a nerve-wracking experience, but with the right preparation and knowledge, it doesn’t have to be. By following this app store submission checklist, you should have all of the information necessary for a successful upload. From understanding what type of data is required to having an eye-catching icon design, make sure that your app has everything it needs to stand out from its competitors on the App Store!


